Are you looking for the best Kratky hydroponic containers to use with your garden? Chances are you have them sitting around you home. But in the chance that you don’t this article will shed some light on the most convenient containers used and how and why you use them in this way.
Let’s jump in.
What Types of Containers can you use with the Kratky Method?
When using the Kratky method there are several types of containers available to house your plants.
They need to be structured in such a way that it allows the roots to reach the nutrient-rich solution while still maintaining a stable environment for your plant.
The things you want to consider when selecting your Kratky hydroponic containers for your plants are: How big your plants will be, how much space do you have available for your plants, and will you be able to provide enough water and solution for your plants based on the size you decide to select.
We say this because not only can you buy containers for your plants, but a lot of DIY enthusiasts actually create their own containers from scratch.
Especially if they are beginners and will have a smaller garden.
Some common containers are:
- Net pots
- 5-gallon bucket
- Milk carton
- Milk jug
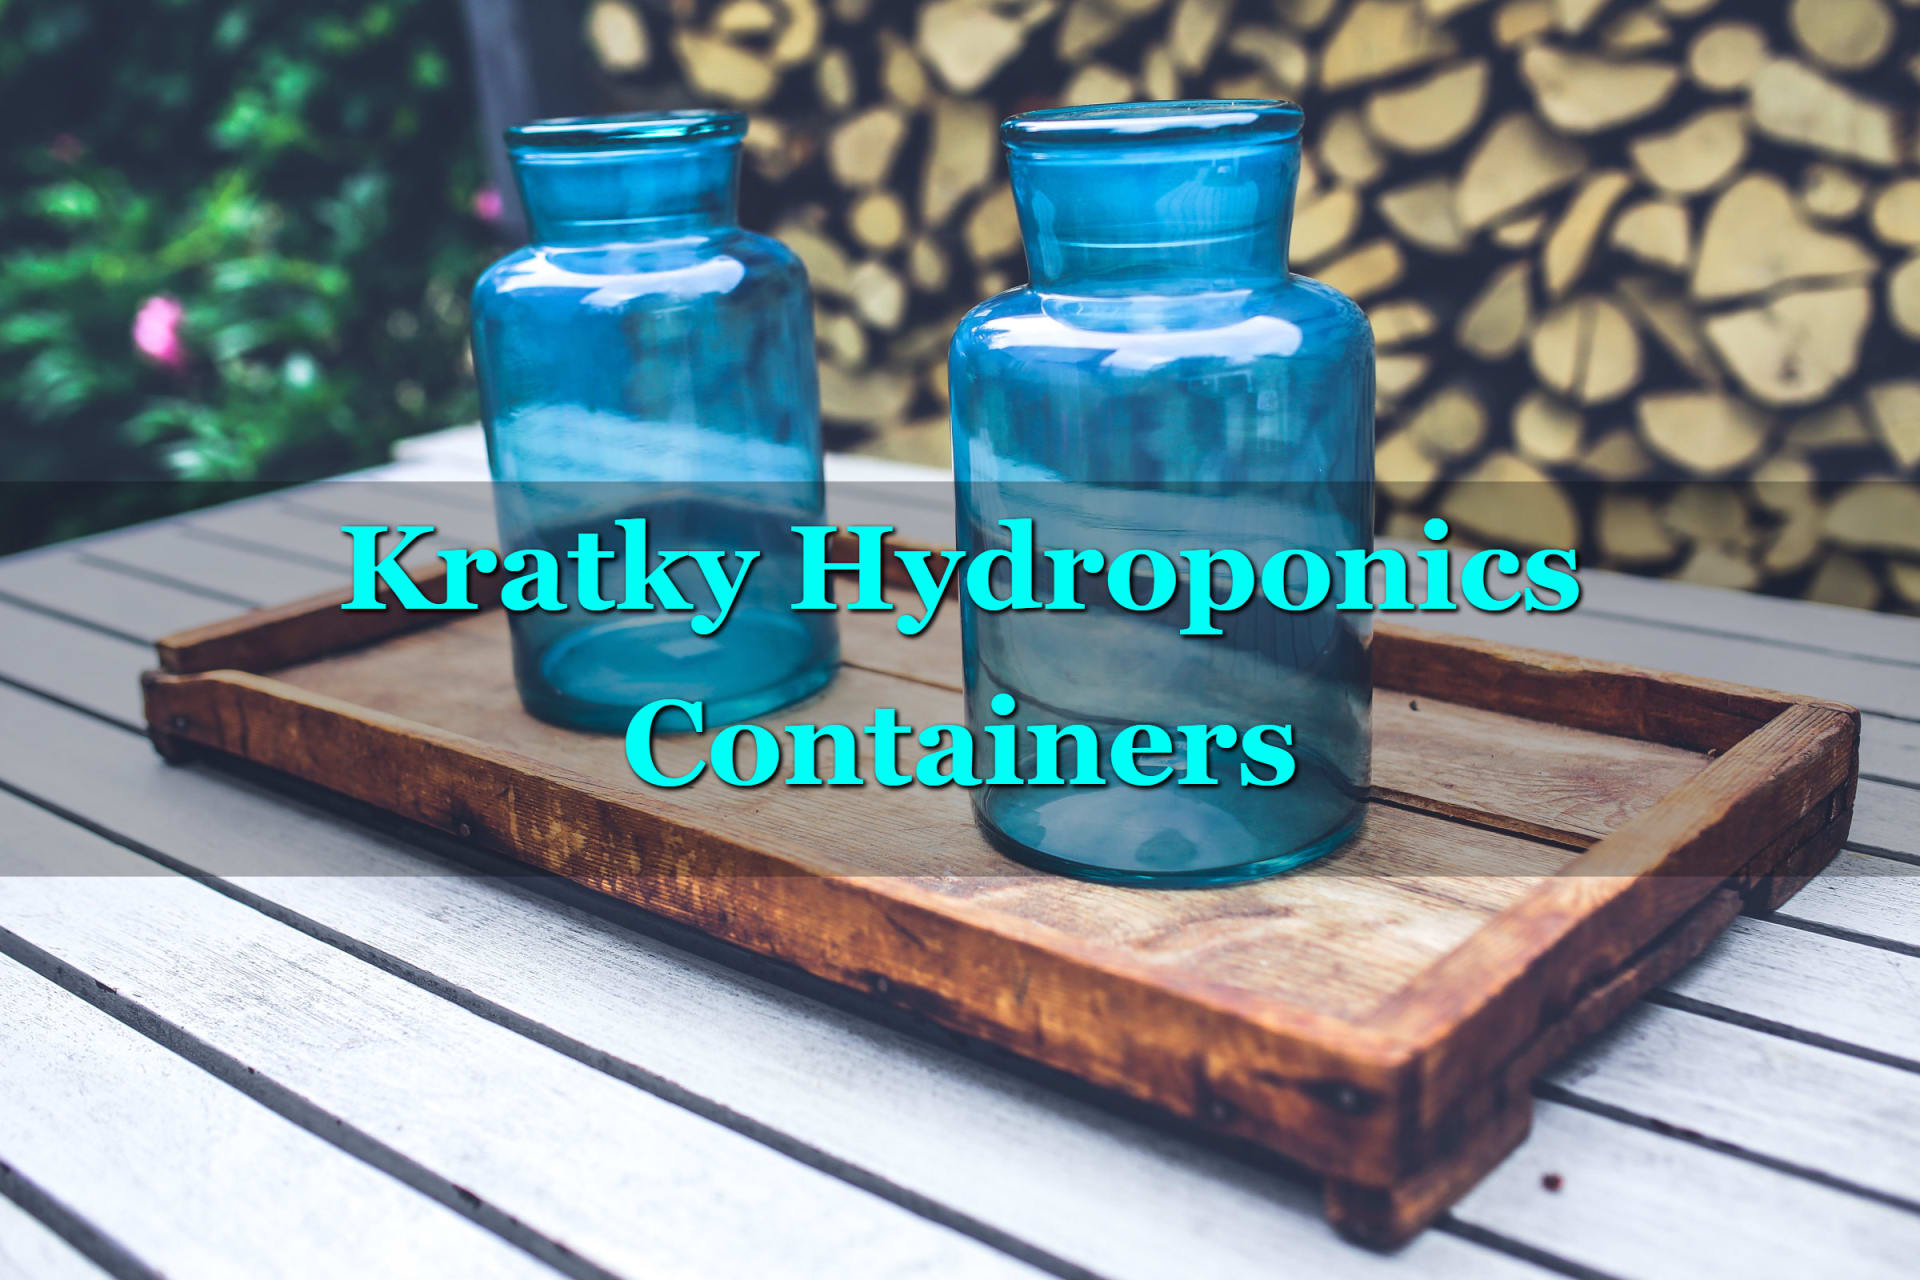
- Mason Jar
- Coffee cans
- Non-dairy creamer containers
- 1.9 to 2 qt plastic containers (from a home decor store)
How Are They Designed?
Net pots– are 2 inches or wider (depending on the container you will use) plastic containers that have holes throughout the surface of the container. When using these it’s important to make sure the roots go through the holes at the bottom, which gives it a clear way to the nutrient solution.
This is the container that holds your plants. It then goes into another container for storage. You will primarily always use this when using the Kratky method.
Using Common Items as Kratky Hydroponics Containers
5-gallon bucket – Drill a hole in the top lid of this container so you can place your net pot in the opening allowing the roots to reach the nutrient solution.
Milk carton – Cut the milk carton top in a way that will allow you to house the net pot.
Milk Jug – Cut the milk jug in a way that allows the net pot to be housed securely. Surround the lower half of the jug with dark tape or spray paint to stop light from getting in.
Mason jar – House you net pot in the opening of the mason jar so the roots of the plant can reach the water. Use tape or some other form of paper to cover the bottom of the glass jar so light cannot enter.
Coffee can – Cut a hole in the plastic lid of your can wide enough to house your net pot.
Non-dairy creamer container – Similar to the milk carton, cut container in such a way (if it’s cardboard) so the net pot can sit firmly in the top, making sure you leave enough room for nutrient-rich water. If your container is plastic make sure the lid is wide enough for your net pot.
1.9 – 2qt plastic containers – Drill or cut a large enough hole in the top of the lid to hold your net pot. Make sure you spray paint, use black tape or dark paper to cover the bottom half of the container to keep the light out.
What is the Purpose of the Design of Makeshift Kratky Hydroponics Containers?
Net pots – This design is so the roots can easily grow as the plant grows. As the roots grow they will deplete the water. The net pot securely holds the plant in place with other materials, which we will discuss in the next section.
5-gallon bucket – The bucket design is for larger plants, and only needs to hold the net pot in place. Light is blocked by the thick outer surface of the bucket.
Milk carton – The milk carton is a simple container and it’s inexpensive, it houses the net pot securely but needs to be manipulated to do so.
Milk Jug – The milk jug is another inexpensive Kratky hydroponic container, the most important part here is keeping the light out as sunlight will cause algae to form on the roots of your plant.
Mason jar – Very easy Kratky hydroponic container to find, and durable. It can easily secure the net pot. Same as the milk jug, you need to prevent sunlight from plant roots so wrapping it with tape, or paper is necessary.
Coffee can – One of the easiest ways to set up your garden, designed to easily house your net pot with the cut out in the lid.
Non-dairy creamer container – Just as the milk carton holds the net pot the design for this container is no different, it is a cheap easy Kratky hydroponic container to use.
1.9 – 2qt plastic containers – These plastic containers make it easy to grow larger plants and can be washed and reused. Cutting the holes in the top makes it easy for the net pot sit and the roots to grow easily with enough space.
What Other Equipment Can you use as Kratky hydroponic containers?
When using the net pot to grow plants, it is common to fill the pot with rock wool or coconut coir to keep the plant stable. Some other materials used are hydroton, sand, or rocks. But the best practice has been to use rock wool.
Conclusion
As you can see, there is no special Kratky hydroponic containers needed. You can pretty much create them all at home. Or go to your local home improvement store and collect some buckets and get started. Either way, you don’t need to spend a fortune to start. Create your hydroponic garden easily and affordably. Soon, you’ll be able to enjoy the benefits of your hard work.
The biggest thing to remember is light control. It’s important to ensure that sure zero light gets into your container. This will prevent damaging algae from growing and taking the nutrients from your plants.
Recent Comments