Pick a Kratky Container
Lesson 4 of 14
The container is the whole system in Kratky. Pick the right one and most problems never start.
What Every Kratky Container Needs
- Dark walls. Light reaching the solution feeds algae. Use an opaque container, or wrap a clear one in paint, tape, foil or a sleeve.
- A lid that holds a net cup. The lid supports the plant and keeps light and dust out. A mason jar ring, a cut plastic lid or a drilled tote lid all work.
- Food-safe material. Glass and food-grade plastic are the usual choices. Avoid containers that held chemicals.
- Enough volume for the plant. The plant should not run the container dry before harvest.
Matching Size to the Plant
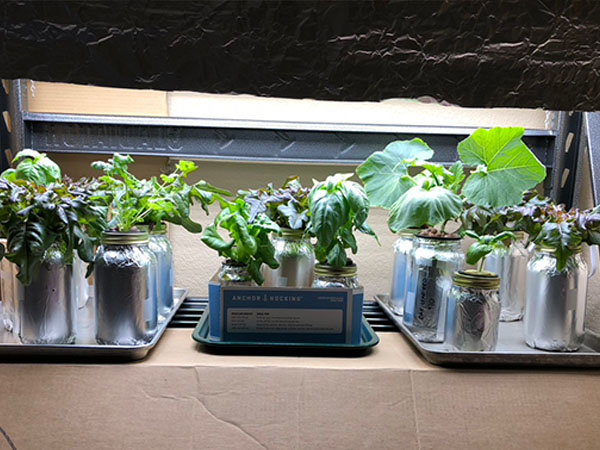
- Herbs and lettuce: a quart or half-gallon jar is a common first container. You will see jars like these in our garden photos.
- Larger leafy greens: a gallon container gives more room before the solution runs low.
- Fruiting plants such as tomatoes and peppers: use a bucket or tote, and plan to top up. The fruiting-plants lesson covers this.
When in doubt, go bigger. A larger container holds more solution, so the level and nutrient strength change more slowly.
Common Container Mistakes
- Clear jars left uncovered. Green water within a couple of weeks is the usual sign.
- A net cup that sits too high. At the start, the solution should touch the bottom of the net cup. Otherwise the seedling cannot reach it.
- Containers too small for the crop. The plant wilts once the roots can no longer reach the solution.
Before You Move On
Have your container, its lid and a net cup that fits the lid ready. In the next lessons you will start seeds and mix the nutrient solution that goes inside.