Set Up and Transplant
Lesson 8 of 14
This is the day everything comes together: container, solution and seedling. Getting the starting level right is what makes the Kratky method work.
Step by step
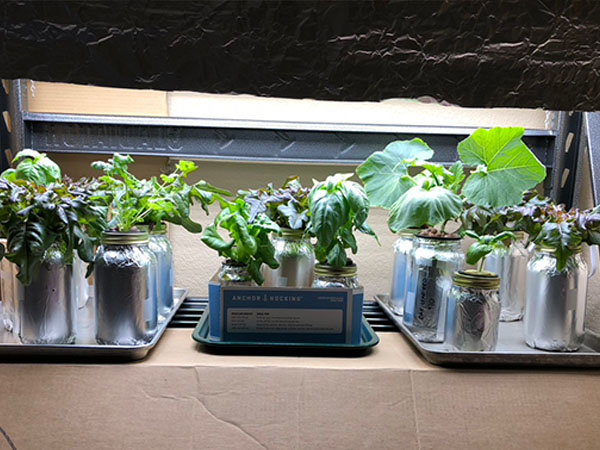
- Prepare the container. Clean, dark or covered, with a lid that holds the net cup (Lesson 4).
- Mix the solution and adjust its pH (Lessons 6 and 7).
- Fill to the right level. Pour in solution until it just touches the bottom of the net cup when the lid is on (Kratky, 2009). The growing medium stays moist by wicking, and the young roots reach the solution straight away.
- Place the seedling. Set the cube or plug in the net cup. If there is space around it, fill it with clay pebbles or more medium so the plant sits upright.
- Close the lid and check that no light reaches the solution through gaps.
- Label it with the date, the plant and the nutrient strength.
Do not overfill
If the solution covers the whole net cup, the base of the stem stays wet and the roots have no air. Just touching the bottom of the cup is enough.
The first week
For the first several days roots grow down into the solution. You do not need to do anything except check that the cube stays moist and the plant has light. Resist the urge to add water.
Your task for this lesson
Set up your first container and write down the date. Every later lesson refers back to how many days or weeks it has been.
Sources
- Kratky, B.A. (2009). Three non-circulating hydroponic methods for growing lettuce. Acta Horticulturae 843: 65–72.